
May 6, 2025
NOTE: As an alternative to the “Manual” setup steps below, you can also download the free official Gmail App for Android. Once you have downloaded the app, you can simply enter your e-mail address and password to access your account. Android and Google are closely integrated platforms — it’s possible that your Android device came with the Gmail app pre-installed.
Adding Gmail to Android
Tap here to download the free Official Gmail App for Android.
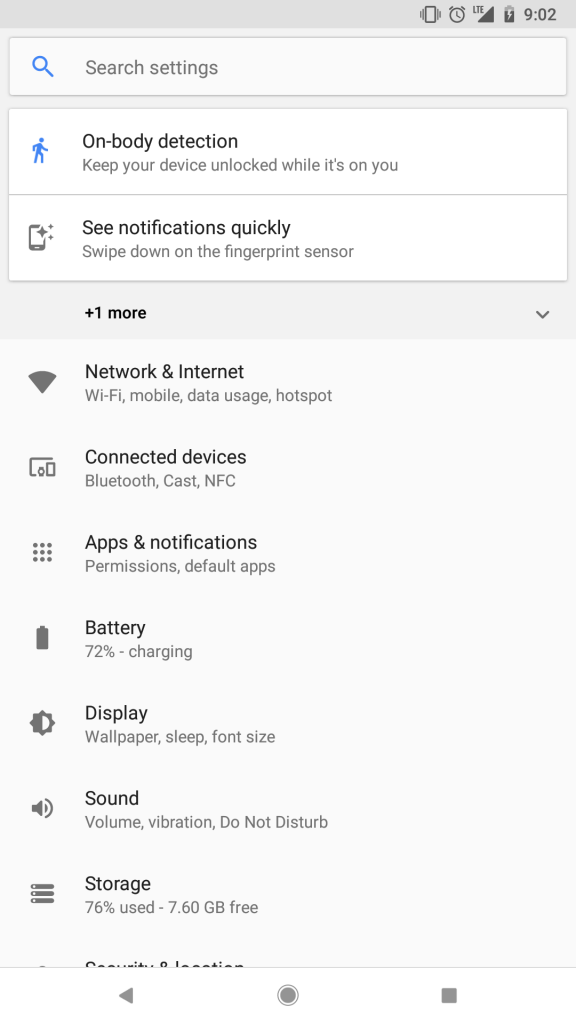
Step 1: Access your phone settings, either via the “gear” icon on the pull-down top menu, or the “Settings” app in the full list of apps.
Step 2: Select “Users & accounts” from the main menu on the Settings page.
Step 3: Select “+ Add Account” — this option can be found below the list of current accounts on your phone.
Step 4: Select “Personal (IMAP)” from the list of account types you can add.
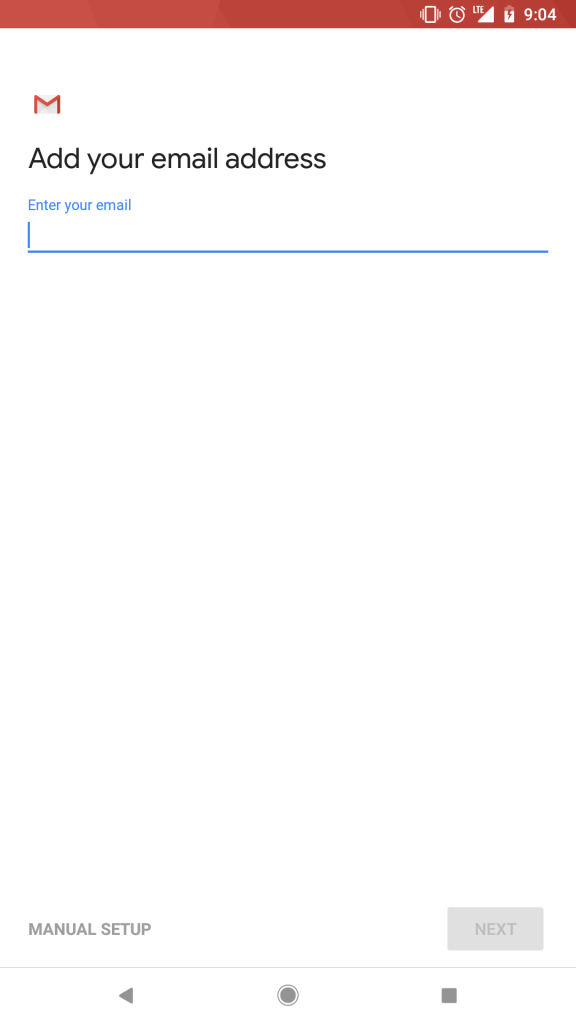
Step 5: Enter the full e-mail address you would like to configure.
Step 6: Enter the password for the account.
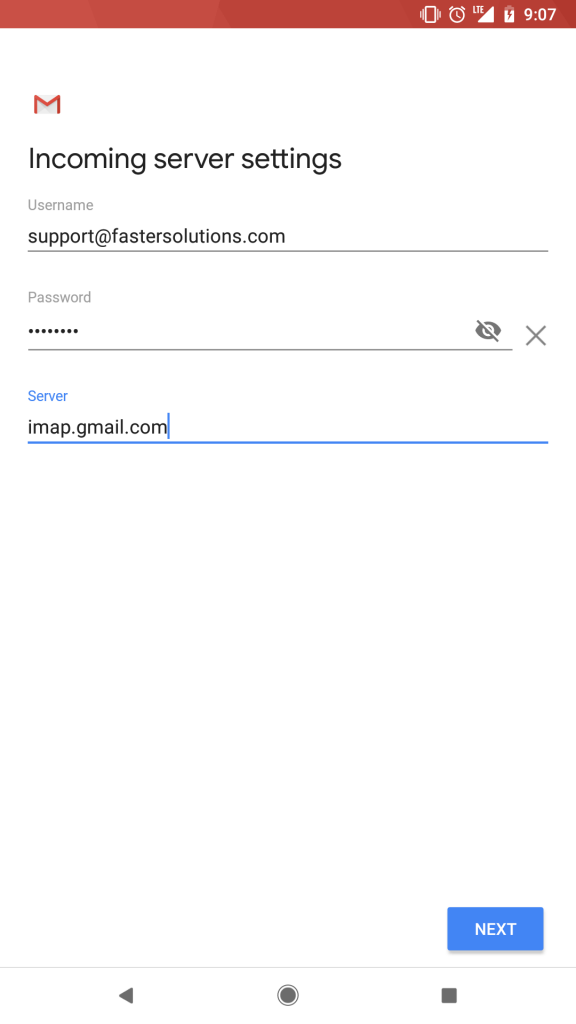
Step 7: You should now see the “Incoming server settings” screen. Under “Server,” change the server name to imap.gmail.com.
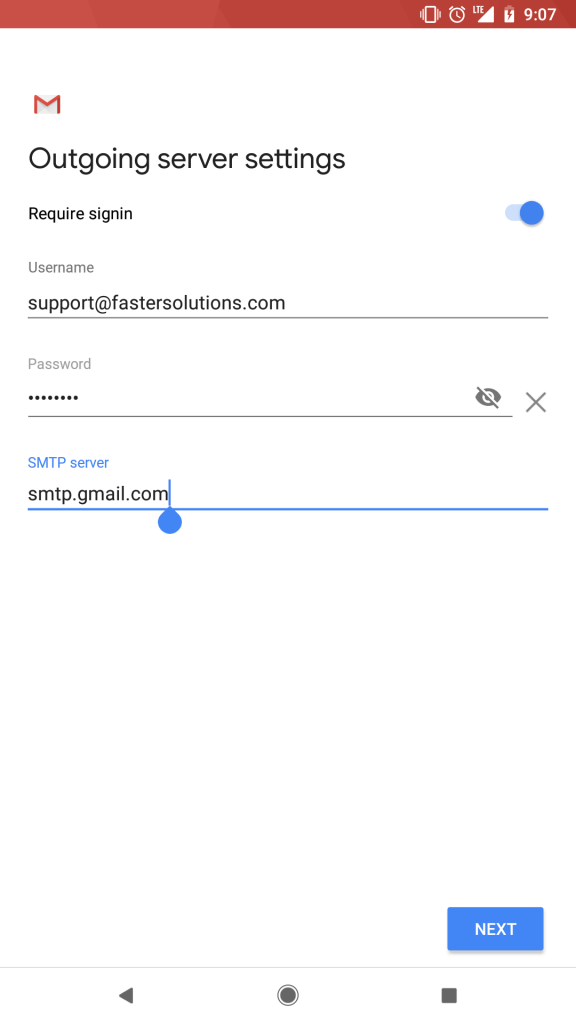
Step 8: On the “Outgoing server settings” screen, change the server name to smtp.gmail.com.
Step 9: You’ll then have an opportunity to adjust some settings for your account such as how often you’d like the account to check for new mail, et cetera. Once you’re satisfied with your settings, press “Finish,” and you’re all set!
At Faster Solutions, our goal is to provide YOU, our customer, with the best possible service. Request Customer Care to get in touch with you.
ContactWith a business model built on trust and integrity, and over 19 years of experience, we're confident that we're the right business to help you achieve success on the web. Ready to take your business to the next level? Get started today.
ContactAn increase in traffic and qualified leads results in higher conversions. Connect with our Marketing Team to discuss goals and ideas for a higher conversion rate and return on your investment.
Contact


We are a full-service digital agency with certified content managers standing by to create winning integrated experiences for the digital era.